How to Disassemble a Nerf Gun? [Step by Step Guide]
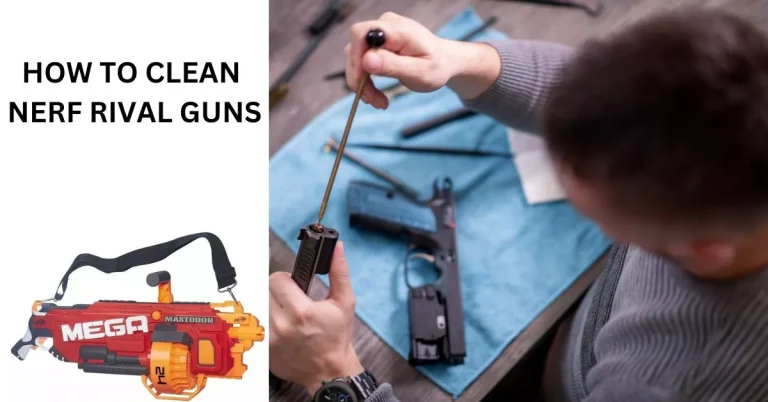
If you’re a Nerf enthusiast, you know that a well-maintained gun can make all the difference in your battles. Disassembling your Nerf gun can help you clean and repair it, which can improve your overall Nerf experience.
However, disassembling a Nerf gun can be tricky, especially if you’ve never done it before. In this article, we’ll guide you through the process.
Step by Step Method of Disassembling Nerf Blaster
Gather Your Tools
Before you begin disassembling your Nerf gun, you’ll need to gather a few tools. You’ll need a screwdriver with a small Phillips head, a flathead screwdriver, a pair of pliers, and a soft cloth.
Unload Your Gun
Before you start disassembling your Nerf gun, make sure it’s unloaded. Remove any darts from the chamber and the magazine.
Remove the Screws
Using the small Phillips head screwdriver, remove all the screws from the gun. Most Nerf guns have between 6-8 screws. Be sure to keep the screws in a safe place, so you don’t lose them.
Separate the Blaster
Once you’ve removed all the screws, you can separate the blaster into two parts. Gently pull apart the two halves, being careful not to damage any of the components.
Remove the Internal Mechanisms
Once you have separated the blaster, you’ll need to remove the internal mechanisms. Using the flathead screwdriver, gently pry the mechanisms from the shell of the blaster. Be careful not to damage any of the internal components.
Clean and Repair
With the internal mechanisms removed, you can now clean and repair your Nerf gun. Use a soft cloth to clean any dust or dirt from the components. If any of the components are damaged, you’ll need to replace them before reassembling your blaster.
Reassemble the Blaster
Once you have cleaned and repaired your Nerf gun, you can reassemble the blaster. Start by placing the internal mechanisms back into the shell of the blaster. Be sure that everything is aligned properly before screwing the blaster back together.
Test the Blaster
After reassembling your Nerf gun, test it to make sure it’s working properly. Load a magazine with darts and fire a few rounds on Nerf Targets to ensure that everything is in working order.
Conclusion
Disassembling a Nerf gun can be intimidating, but it doesn’t have to be. By following the steps outlined in this article, you can safely and effectively disassemble your Nerf gun, clean and repair it, and reassemble it for better performance.
FAQs
I am a Nerf gun fan, researcher and modder. I post reviews about Nerf blasters and also share tips to solve issues with your toy guns.


![How to Make a Nerf Gun Lethal? [Step by step Guide]](../wp-content/uploads/2023/06/How-to-Make-a-Nerf-Gun-Lethal-768x402.webp)


One Comment